Installation
Go and grab an installer package for your operating system and distribution from this distribution’s Latest Release page, expand the Assets tab below the description if you do not see any.
NOTE: The documentation you are reading is generated from the distribution. If you are adventuring and taking a beta version, make sure that you are reading also its documentation. See the version information on the page (depends of the platform where it can be found, sorry), available also in the page URL.
The platforms and operating system supported:
Windows 10 (.exe installer - fully tested platform)
MacOS (.pkg - not tested as platform, helper scripts missing)
Ubuntu 20.04LTS Focal Fossa and distributions similar to it (.deb - fully tested platform)
Mandatory requirements
OpenCPN v5.2 or greater
Linux: wxWidgets run-time support with wxWebView run-time library (GTK3, not available on GTK2 based Linux distributions by default)
OpenCPN Plug-In Manager
The plug-in manager of OpenCPN is a great tool to unify the plug-in installation for the best user experience. The tool’s catalogue and the plug-ins are pulled from a centralized data retrieval system, proper to OpenCPN.org. Whenever you can, use the OpenCPN Plug-In Manager.
Please be reminded that the OpenCPN Plug-In Manager is not installing the software from the repository from which this document is generated. Therefore you will need to pay attention which version you get and compare that to this document’s version.
The features of DashT described in this document are those obtained only - in a guaranteed manner - using an installer provided with a same version number and from the same repository this document has been generated from. You can reach that repository using the version navigation buttons visible somewhere around this page - depending of the format and the platform on which you are reading it.
Reporting issues
If you experience issues with the version of DashT installed by the OpenCPN Plug-In Manager from the OpenCPN.org repository, please report about your issues in corresponding DashT discussion thread - not into the repository where this document has been generated from. Check carefully the version of DashT which has been installed and the source of installation before reporting, no matter where you do report!
Before reporting for this particular software, see the troubleshooting sections for the corresponding software module or instrument. If you think you have found an issue, please describe it in the source software’s repository here - make also a last attempt to search for your problem’s keywords from the issue list, thank you.
Should you decide to open an issue to author’s attention, please collect all information requested on the issue template before pressing that submit-button, thus avoiding time wasting messaging to collect the requested background information from you, one by one. All information requested is necessary, not to mentionthe screenshots alone! This is FOSS and the community who has contributed to this project is proud to bring this
software to you, free of charge. But the level of support can be only proportional to the free word of the definition - please contribute by making a considerable effort to explain your problem clearly.
DashT Windows installer
NOTE: Unlike the OpenCPN Plug-In Manager, the *.exe installer creates a Windows uninstaller. This is required to uninstall also the helper scripts. If this is an issue, do not execute the installer but use the OpenCPN Plug-In Manager. Of course, you may not necessarily get the same software version than this document is describing and the connections to third party systems managed by those helper scripts will not be available.
Inspection (Win)
The installer is an *.exe installer which you have downloaded from the repository’s Releases (see Installation). It can be inspected (if not yet done during the downlod) by scanning it with your Windows 10 Microsoft Defender antivirus program or other such product. More antivirus programs can found and used to scan the file in one go at virustotal.com.
Finally, to inspect what exactly is contained inside the *.exe installer, one can use, for example 7z archive manager.
You are also invited to read the privacy statement and security policy in this documentation. DashT security page on GitHub provides the latest security status and provides links to open issues.
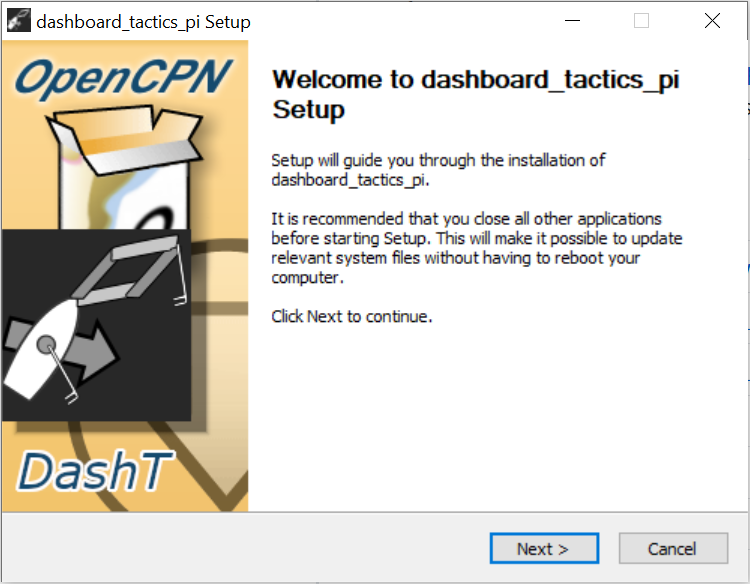
Install (Win)
Once you launch the *.exe installer you need to get through the Windows security messages. They may vary and are not explained here. Once you get through, the Nullsoft Scriptable Install System - another great free and open source program - will be launched to install DashT and its helper scripts.
UPDATING your DashT: If you are using InfluxDB / Docker you must make sure all Docker services are stopped - it may well be that you are running them with automatic start (if you have shut down or rebooted your system with them running, the services are persistent). In order to keep your database and other Docker settings safe and, at the same time make sure that the installation does not stop because of a locked file system please rename the following directory:
\Users\Public\DashT. This is where all Docker-linked files are located, including your databse. Keep it safe! Do not start the installation/upgrade if you have issues with this point, the installation would also fail in the end.

NOTE: The installer does not install OpenCPN, it requires OpenCPN! It is an installer which installs an OpenCPN plug-in. Get yourself one from OpenCPN.org if you do not have this great open source chart plotter yet.

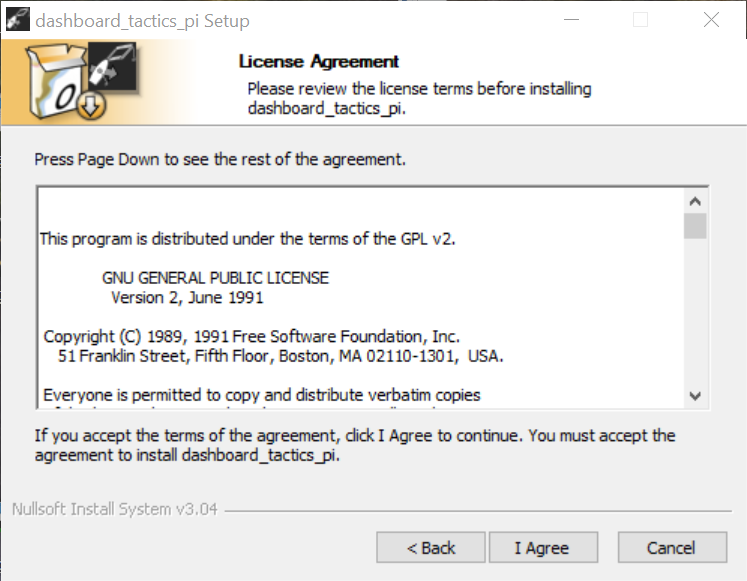
The license of the installed software is naturally the same as is it with the OpenCPN, GPL v2 - i.e. free and open source. There are some dynamic components based on web technologies and third party open source software not using this particular license but they have adapted, and DashT with them the even more permissive MIT license. If you use the DashT units which are under MIT-license, you will be asked to accept that license, but only if you actually use those instruments, and only once per instrument.

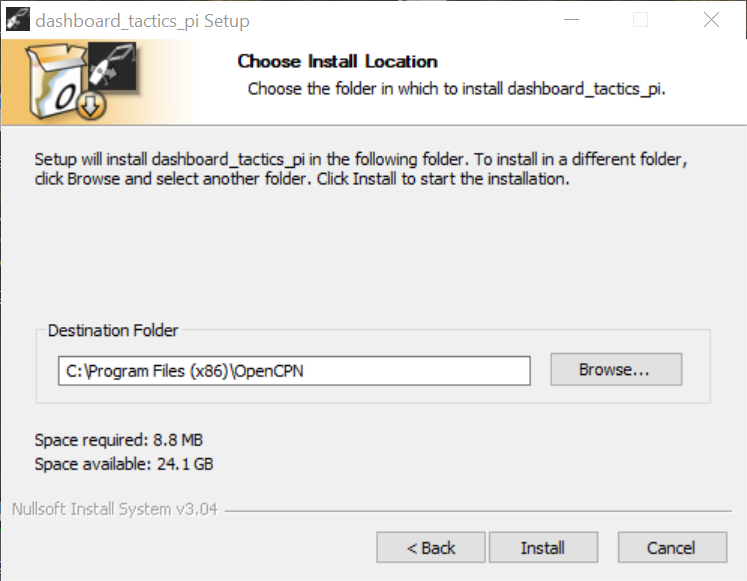
There is most likely no reason to change the default OpenCPN installation location. If you do, probably you know better and do not need to read further.
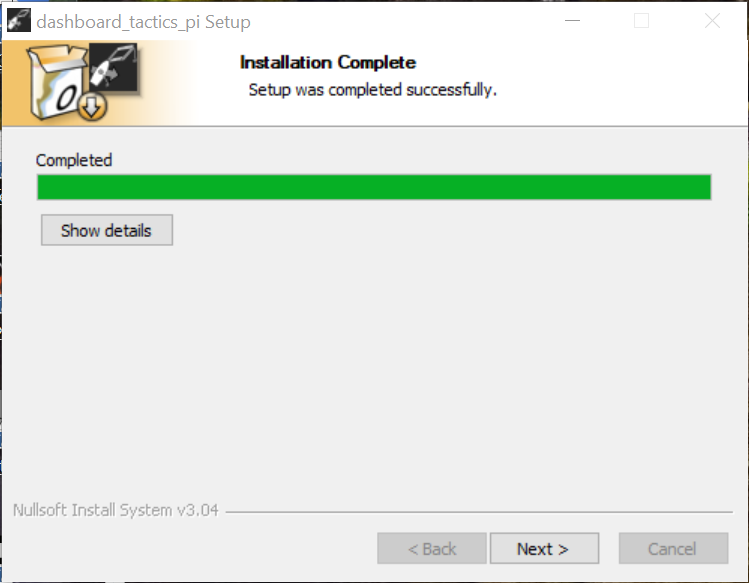
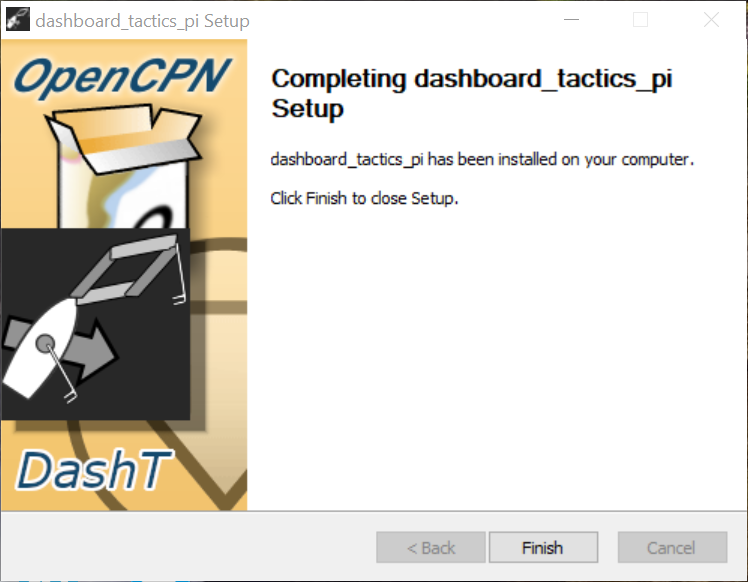
Installation is pretty fast, but you have still time after the installation to review, with Show details button which files were installed and where, before terminating the installation with Next >.
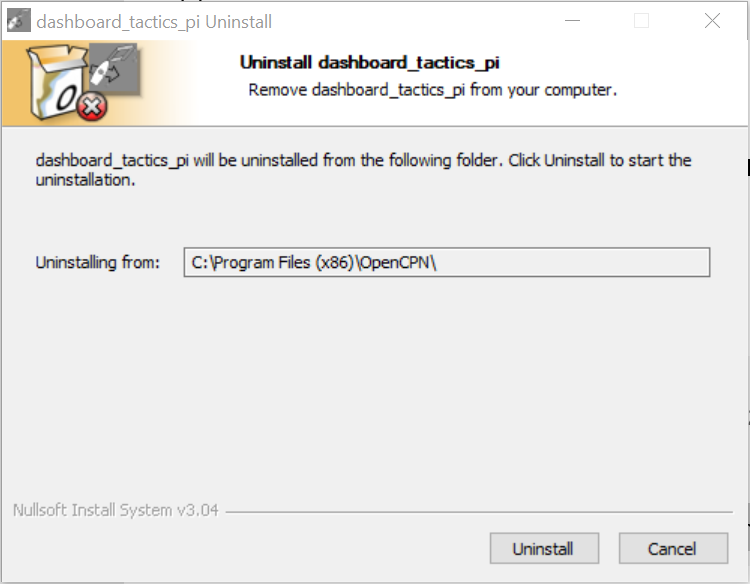
Uninstall (Win)
NOTE:The Windows uninstaller is registered in Windows under the name dashboard_tactics_pi which is the catalogue name for it in OpenCPN.
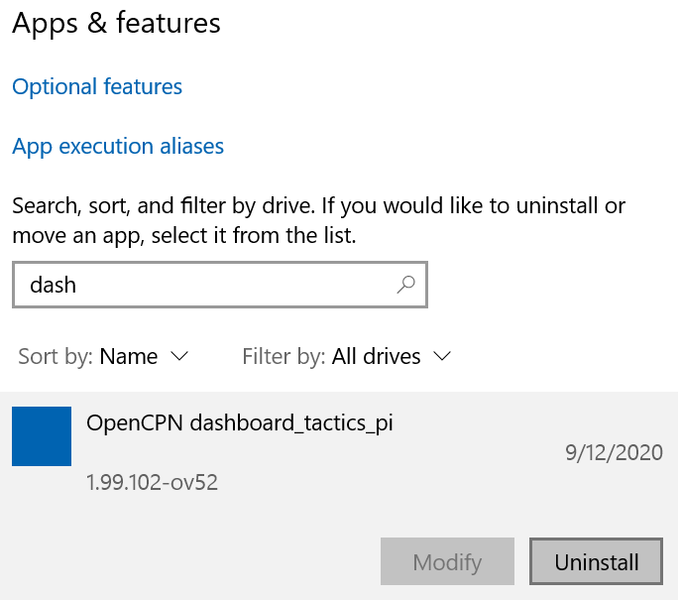
Search for the uninstaller and launch it using Windows Settings -> Apps -> Apps & features.

It is very unlikely that you need to change anything in the above first uninstall dialog which appears.
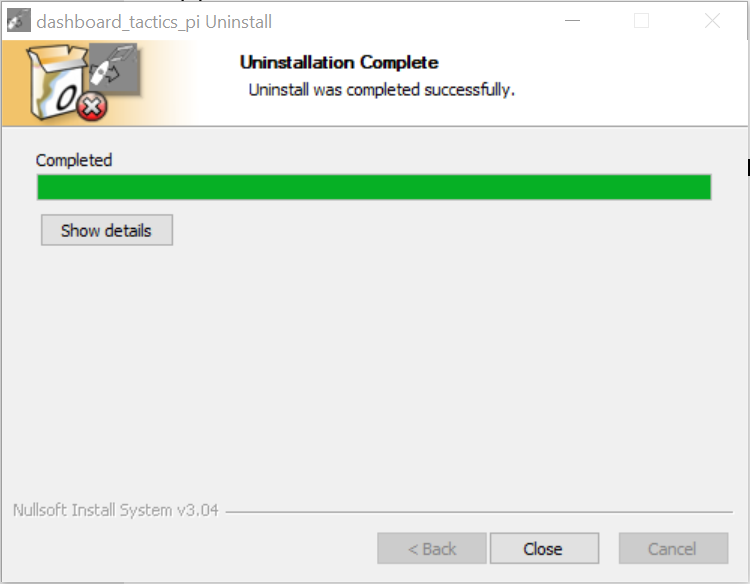
Uninstallation should be really fast. This is not a big program, just a plug-in.
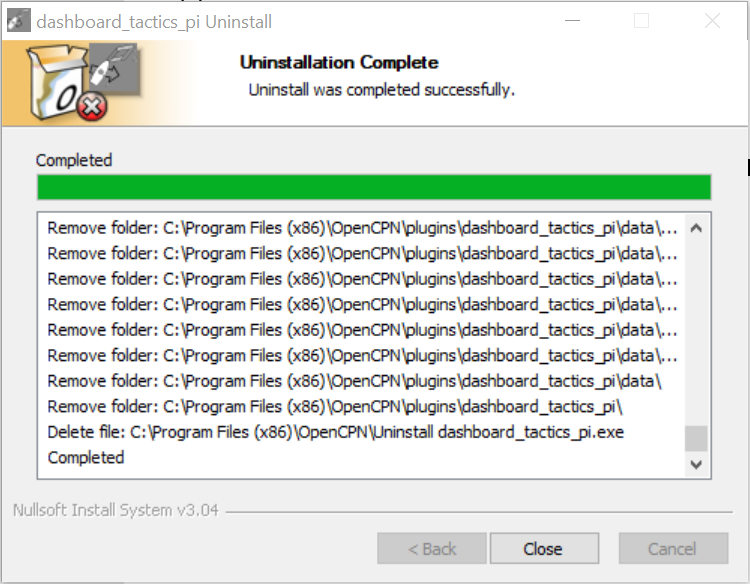
You can see which files were actually uninstalled and from where by pressing Show details button before pressing Close.
Troubleshooting (Win)
Installation is pretty fast, and not very verbose if something goes wrong. That is why it is always a good idea use that Show details button and to scan which files were installed and where, before terminating the installation with Next >.

There may be some errors along the way and the installation never finishes. This can be checked by comparing your installation’s end to the expected, few last files depicted in the above screenshot.
The completion of the installation is best inspected by observing that a new directory, \Users\Public\DashT has appeared. Also, you should have three new desktop buttons for all users, defined in \Users\Public\Desktop.
If everything looks right but you cannot find DashT from OpenCPN as described in Getting Started chapter, you should get familiar with the OpenCPN log file. On a Windows system it is located in: \ProgramData\opencpn\opencpn.log
Take a look at the end of the log file where the most recent start-up logs are located. You can search lines having string “dashboard_tactics_pi” which is used by DashT for its log messages. There are usually only few such log messages containing this identifier, but if you do not see any it means quite likely that DashT never gets loaded by OpenCPN and that either the installation has completely failed to copy files into right locations, or that there is some compatibility issue - have you checked the versions? Otherwise the log messages can give you a hint what went wrong. Anyway, the log file is always reguested (zipped, thanks!) if you contact no matter who for community help.
DashT Linux (deb) package
DashT local installation package contains post-installations scripts (see section below). Since the Ubuntu Software tool in v20.04LTS seems to ignore .deb the suggested tool on it, and in general is is gdebi(1) to install / uninstall the DashT local file .deb package. If you do not have gdebi in your system, install it with sudo apt install gdebi-core. Another tool we are going to use below is dpkg(1) which is available by
default.
NOTE: There is a graphical tool available for
gdebi, namedgdebi-gtk. However, to make the document most suitable for all platforms without explaining the differences with distributions the choice is to concentrate on command line tools only. However, if you install the DashT withgdebi-gtkthe result will be the same - it a GUI togdebi. Use the method which best suits your way of working with your Linux system, of course; you are not obliged to follow all verification steps below. They are provided only for total transparency - we respect your system’s integrity and want to keep you on the driver’s seat!
Inspection (Linux)
After the download of the *.deb file from the distribution repository we can list its contents to see what we can expect from the installation. To get the list without installing, we use:
dpkg -c dashboard_tactics_pi_1.99.102-ov52-1_amd64.deb
~/Downloads$ dpkg -c dashboard_tactics_pi_1.99.102-ov52-1_amd64.deb
drwxr-xr-x root/root         0 2020-09-08 23:35 ./usr/
drwxr-xr-x root/root         0 2020-09-08 23:35 ./usr/lib/
drwxr-xr-x root/root         0 2020-09-08 23:35 ./usr/lib/opencpn/
-rw-r--r-- root/root   2206200 2020-09-08 23:35 ./usr/lib/opencpn/libdashboard_tactics_pi.so
...
-rw-r--r-- root/root     25190 2020-09-08 23:30 ./usr/share/opencpn/
plugins/dashboard_tactics_pi/data/streamout_template_http.json
What about the post-install scripts, how I can study them before launching the installation?
dpkg -e ../dashboard_tactics_pi_1.99.102-ov52-1_amd64.deb
cd DEBIAN
ls
control  md5sums  postinst  postrm
cat postinst
#!/usr/bin/env bash
set -e
# /* $Id: postinst, v1.0 2019/11/30 VaderDarth Exp $ */
#
# Post-install script for Debian package dashboard_tactics_pi<version>.deb
...
You can observe that the post-install scripts are only addressing the helper scripts, no third-party programs. Nor do they modify the configuration of the system in any way. They are only needed for configuration control.
You are also invited to read the privacy statement and security policy in this documentation. DashT security page on GitHub provides the latest security status and provides links to open issues.
Install (Linux)
Ready to install? It is simple with gdebi:
sudo gdebi dashboard_tactics_pi_1.99.102-ov52-1_amd64.deb
[sudo] password for myname:
Reading package lists... Done
Building dependency tree
Reading state information... Done
Reading state information... Done

dashboard_tactics_pi PlugIn for OpenCPN
 dashboard_tactics_pi PlugIn for OpenCPN
Do you want to install the software package? [y/N]: y
/usr/bin/gdebi:113: FutureWarning: Possible nested set at position 1
  c = findall("[[(](\S+)/\S+[])]", msg)[0].lower()
(Reading database ... 285733 files and directories currently installed.)
Preparing to unpack dashboard_tactics_pi_1.99.102-ov52-1_amd64.deb ...
Unpacking dashboard_tactics_pi (1.99.102-ov52) over (1.98.1061-ov51) ...
postrm - Removing DashT scripted helper launchers from
/usr/local/bin:
- dashtengine
- dashtdb
postrm - Done.
Setting up dashboard_tactics_pi (1.99.102-ov52) ...
postinst - Installing DashT scripted helper launchers into
/usr/local/bin:
+ dashtengine
+ dashtdb
postinst - Enabling the execution of DashT system analysis script:
/usr/share/opencpn/plugins/dashboard_tactics_pi/data/instrujs/scripts/
linux/o-platforminfo.sh
(enabled)
postinst - Done.
You may notice that the deb-package manager updated the previous version - the post-installation scripts did the same for the helper scripts.
Now you can launch your OpenCPN and look for DashT plug-in in its plug-in manager.
Uninstall (Linux)
GUI Uninstall: If you change your mind during the “try-and-buy” period, i.e. you want to uninstall immediately DashT and you have still the *.deb open under the graphical
gdebi-gtkyou can use it to uninstall the package with a simple click. In Ubuntu 20.04LTS the Ubuntu Software center seems to lack (“Show N technical items”) option, so it cannot be used for uninstall. However, below we explain the command-line method to be compatible with all systems:
Serch for the dashboard_tactics_pi package:
apt search dashboard_tactics_pi
Sorting... Done
Full Text Search... Done
dashboard_tactics_pi/now 1.99.102-ov52 amd64 [installed,local]
  dashboard_tactics_pi PlugIn for OpenCPN
Then remove completely the package from the system with dpkg --purge command:
 sudo dpkg --purge dashboard_tactics_pi
[sudo] password for myname:
(Reading database ... 285744 files and directories currently installed.)
Removing dashboard_tactics_pi (1.99.102-ov52) ...
postrm - Removing DashT scripted helper launchers from
/usr/local/bin:
- dashtengine
- dashtdb
postrm - Done.
Purging configuration files for dashboard_tactics_pi (1.99.102-ov52) ...
postrm - Removing DashT scripted helper launchers from
/usr/local/bin:
- dashtengine
- dashtdb
postrm - Done.
Troubleshooting (Linux)
If everything looks right but you cannot find DashT from OpenCPN as described in Getting Started chapter the same applies to Linux, Windows or any platform with OpenCPN - first take a look at the end of the log-file, which contains all sorts of interesting information. In Linux systems it is located in: ~/.opencpn/opencpn.log. Please skip back for a moment now in Windows installation troubleshooting to read about
what to look from that file…
Did not find any trace of dashboard_tactics_pi in the log file?
This perhaps means that OpenCPN has find out that DashT plug-in distribution which has been installed is not compatible both with it and the system on which it installed. This is usually caused by incompatibilities in the libraries, mainly wxWidgets version - for which GTK-library version it has been compiled for.
NOTE: DashT is supported only on GTK3-based systems and it needs wxWebView library. OpenCPN installed on older GTK2 Linux distributions is naturally supporting GTK2 and would, correctly refuse GTK3-based DashT - it would not work! However, with some basic Linux skills it is possible to make DashT to work on GTK2 systems with the help of the kind author who has put such a “unoffical” version (handmade) into the distribution. This is the case for Raspberry Pi/Buster, which is a GTK2 based system. So is, by default its 64-bit version while it has both GTK2 and GTK3 as
alternativesinstallations. By default, OpenCPN v5.2.4 is build GTK2 if it is available. In this case, DashT is incompatible with that version of OpenCPN.
You can use the following script now on your system to dig out all the above information and figure out why the DashT does not get loaded in your system:
cd /usr/share/opencpn/plugins
cd dashboard_tactics_pi/data
cd instrujs/scripts/linux
./o-platforminfo.sh
The print is long and meant for an expert (see instructions at the end of output) but let’s take out a few lines which gives you immediately knowledge will it work for you, or not:
...
>>>>> Displaying OpenCPN's dependencies on wxWidgets libraries <<<<<
...
libwx_gtk3u_core-3.0.so.0 =>
/lib/x86_64-linux-gnu/libwx_gtk3u_core-3.0.so.0
...
libwx_gtk3u_webview-3.0.so.0 =>
/lib/x86_64-linux-gnu/libwx_gtk3u_webview-3.0.so.0
...
The above means that this is a GTK3 system and there is wxWebView installed for it. If GKT2 is indicated, or if wxWebView is not found, there is not much hope to get prebuilt DashT *.deb package to work on this system.
Maybe your system is Ubuntu 18 or older, or one of their derivations? Please consider upgrading. Or make the effort to compile everything from the source, including the wxWidgets with wxWebView library. It has been done, it works. But one can ask is the advanced, web technology enabled DashT the right tool for your trusted but a bit outdated system? Of course, in navigation one seeks stability, but DashT is not a navigational tool. It is mainly intended to increase the performance of you and your boat so it needs to follow its time.
If you still think that DashT should be recognized by OpenCPN in your system, but it does not please use the following command in the above directory to make a reasonable size report file which you can attach to your issue post:
./o-platforminfo.sh 2>&1 | gzip >~/Downloads/report.txt.gz
Optional platforms
Other platforms where installation is possible and an installer is provided:
Raspberry Pi4B Raspian Buster (*.deb installer provided for 64-bit Ubuntu 20.04LTS Focal Fossa version, not compatible with RaspberryOS64 which by default works with GTK2. GTK3 is available with
update-alternativesbut will the OpenCPN be GTK3, probably not: see below, will not work out of the box.
Installed helpers
Windows scripts
The helper scripts and the supporting configuration files are installed in \Users\Public\DashT folder. Three buttons to use those will be installed on the Desktop:
Start web server (for EngineDJG only)
Start DB (database and web services for everything)
Stop DB
These buttons will do nothing, however, if you do not install yourself the third party software they are referring to. No third party software is pulled in without you wanting it to happen. See corresponding sections in this document
Linux scripts
The Linux version installs just two helper scripts: dashtengine and dashtdb - try them out from the command line.
NOTE: we let fans of GNOME3, KDE, LXQT, xfce4 and alike to create their own desktop buttons!
Respecting the principle “only if you want it you will get it”, no third party software is declared as automatic dependency in the DashT package installation. Only if you launch one of the scripts, and if the supporting software is not there, you will be asked do you want to get it installed. This way, a person who is not interested in database functions will not get database software installed for nothing.
Third-party programs installed are, for
dashtengine
nodejs, npm
signalk-server, http-server
dashtdb
docker, docker-compose
InfluxDB v2.0, Grafana, nginx web server
NOTE: If you are running dashtdb script on a arm64/aarch64 platform, and it proposes to install Docker with InfluxDB v2.0 it may fail to so - it is not necessarily available for arm64/aarch64 - only amd64. But the situation may evolve and you can try the installation.
wxWebView and GTK2
If you have a recent distro at level of Ubuntu 20.04 LTS (Focal Fossa) you do not have to read this section. For older versions, and upgrade is recommended to a GKT3 enabled version.
DashT requires wxWebView, which requires libwx_gtk***3*u_webview_3.0 or similar. Helas, on older, GTK2 based installations one cannot find anymore an equivalent libwx_gtk***2*u_webview_3.0 or such, for security reasons (webkit2gtk is not maintained anymore).
Therefore, the logical decision is to maintain DashT only for GTK3 based systems.
However, it is possible to make it work by installing your own wxWebView and compile it with wxWebView.
NOTE: you would be using a system with a potentially unsecure wxWebView - make your own security assessement and assume your own risk before applying blindly the below method.
As an example, Raspberry Buster: compile your own wxWidgets stable installation from source and install it. Make, say a gtk2_build folder for the build. In it, ../configure --with-opengl --with-gtk=2 --enable-debug. Then make -j4. When you say sudo make install after the build, all the libraries will be go into
/usr/local/lib, and will not be clashing with your distribution’s wxWidget libraries, they will prevail. Only that the missing libraries, amongs them libwx_gtk***2*u_webview_3.0 is now found, after you run ldconfig.
Note: Even with the above working, you would be limited to EngineDJG dials and Race DashT functions: the InfluxDB v2.0 does not yet exist for armhf architecture in their docker repo. One needs to wait final release to see how this evolves. Meanwhile, if you are interested in the time series database functions you need to provide the InluxDB v2.0 service from another computer and use the HTTP method to write into it, see InfluxDB Out.